Finishing the bleached visuals
- Matthew Shenton
- Apr 26, 2023
- 3 min read
I am blogging whilst planing my next project in order to explore the decisions I make, and to build a better vocabulary and understanding of my sound work.

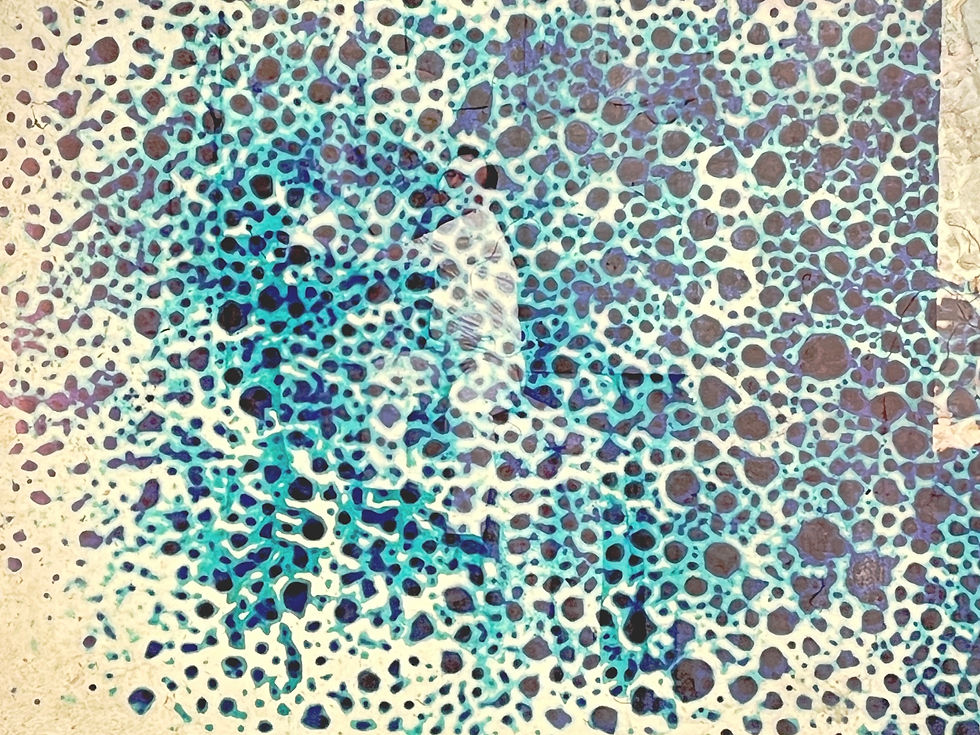
I was now in possession of maybe fifty slides that had had bleach applied to them to degrade the original image. The range of decomposition was quite wide: on some slides the original image could still be made out with figures and scenery still discernible. In others (where the bleach had been left on for longer) the original image was obliterated and only a random pattern of colours and shapes remained. Individual bleach bubbles can be seen on most of the images which is an interesting finish that I hope makes the images both unique and yet allows for the eye to find similarities in style.

To create an extended visual piece with the slides in iMovie I needed to capture the images digitally. To do this I set up my Goblin slide projector on an ironing board, projected the images onto the bedroom wall (the only white wall big enough in my house) and used my iPhone to take both individual pictures of the slides and to record slideshow as a video. I found that I using the iPhone’s AE/AF lock, a mini tripod and a Bluetooth remote to take the images worked well for consistency and stability.
Of the captured images, the predominant colour remaining on the slides was blue. I assume that this was because the bleach had removed the cyan and magenta ink layers of the slide first. Sometimes no colour was left at all if I had left the bleach on for too long.

Once everything was imported into iMovie, I started to look at how the still images could be arranged to create an interesting video that will (hopefully) cause disorientation by not allowing the viewer to fix or categorise what they are seeing.
To achieve this, I used a technique of zooming in to small sections and cropping the images, then having each image only appear on screen for 0.1 seconds (the shortest time achievable in iMovie) before the next cropped images appears on screen. This means that the whole of each degraded image is never seen in full, but instead cropped sections of the image are shown as many as 30 times before the piece moves on to the next image and the cropping process begins again. The cropping and zooming adds even more degradation as the quality of the digital image suffers from both being cropped and then compressed once the finished movie is exported.
I am pleased with the final result which has given me five minutes of footage to work with. Whilst the colours are a little washed out, and there is a distinct lack of sharpness to the images, the piece flows nicely and looks visually interesting to me.

The next step is to use the footage as inspiration for a musical composition. My current thinking is that the only sound source I will use is the slide projector. I think it will be interesting to try to capture the various clanks and whirs the machine makes using a range of microphones, contacts mics and a circuit sniffer supplied by Ian Watson. The captured sounds can then be manipulated and mangled in real time whilst I am viewing the slide film on a loop using both Ableton Live and my Korg Volca Sample. This will allow me to investigate both how the physical properties of objects and self imposed limitations can inspire my creative decision making.


Comments